CRP Projects will have the opportunity to provide their user base with a video library, a compilation of categorized videos for public viewing. The following documentation includes instructions for configuring your video library in the WordPress solution.
It is required that videos being displayed within the video library be stored using Vimeo. It is required that videos being displayed within the video library will ultimately be stored using a CRP-provided Vimeo account. Contact Roy Mesler (rmesler@nas.edu) for additional guidance. More information about Vimeo uploads can be accessed here: https://vimeo.com/help/faq/uploading-to-vimeo/uploading-basics.
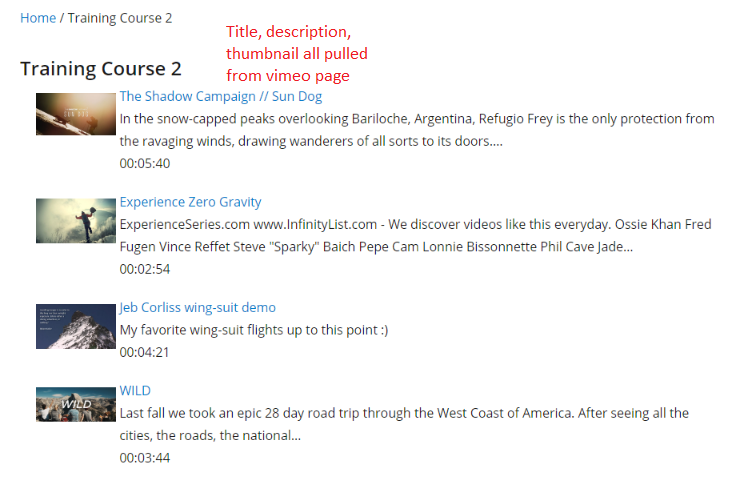
Project teams utilizing the video library templates described below should note that the following fields will be rendered based on their setting in Vimeo, in order to reduce duplicative data entry. Please ensure that the following fields are appropriately set in the Vimeo location: Title, Description, Thumbnail image.
1. Login to the WordPress Dashboard as an administrator for your project’s site.
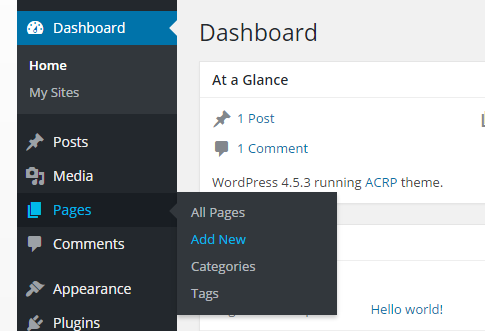
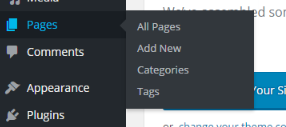
2. Navigate to Pages > Add New
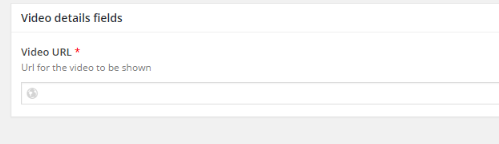
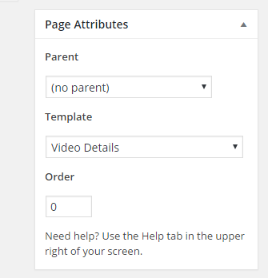
3. For each video, create a new page and give the page a title. In the right hand column, select the, “Video Details” template. Paste the URL of the video location on Vimeo.
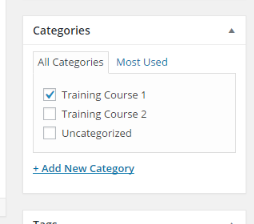
4. If you would like to categorize or add your videos to a course listing, select the category for the page. NOTE: See the following section for process to create categories.
5. If your video has a category set, you can also set the order for the video to appear in the course listing page. Set the order under the Page Attributes section of the page editor. NOTE: See the following section for creation of a category/course listing page.
You may want to organize your project’s set of videos into categories or courses for easier navigation. Complete the follionwg steps to create a video course or category.
1. Login to the WordPress Dashboard as an administrator for your project’s site.
2. Navigate to Pages > Categories.
3. Complete the course/category information. The name and description will be used to display the course on the course listing page (described below). NOTE: The Slug is generally the name with hyphens rather than spaces.
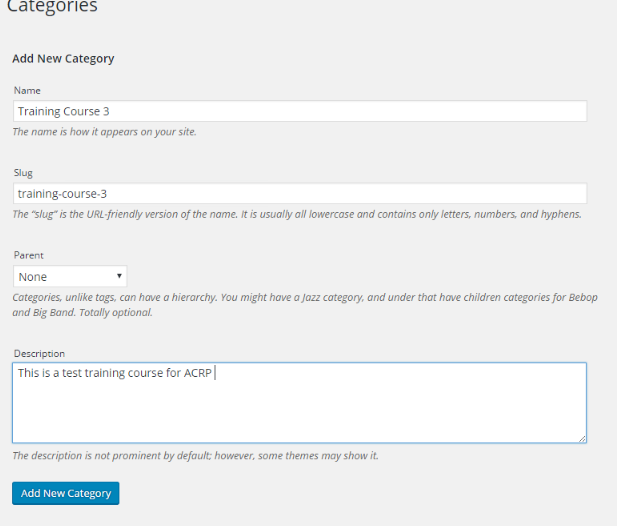
4. Click Add New Category.
5. Navigate to Pages > New Page
6. Give your new page a name. In the right hand column, select the page template, “Category List Template.”
Category/Course Listing templates will look similar to the following:
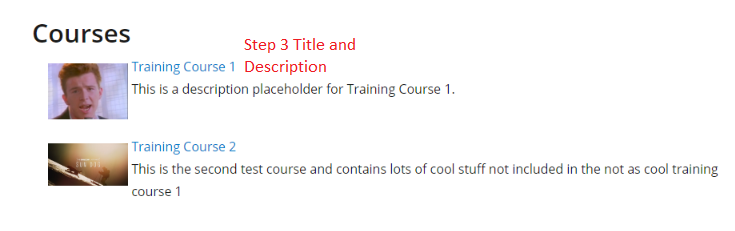
Category or Course Indexes will look similar to the following:
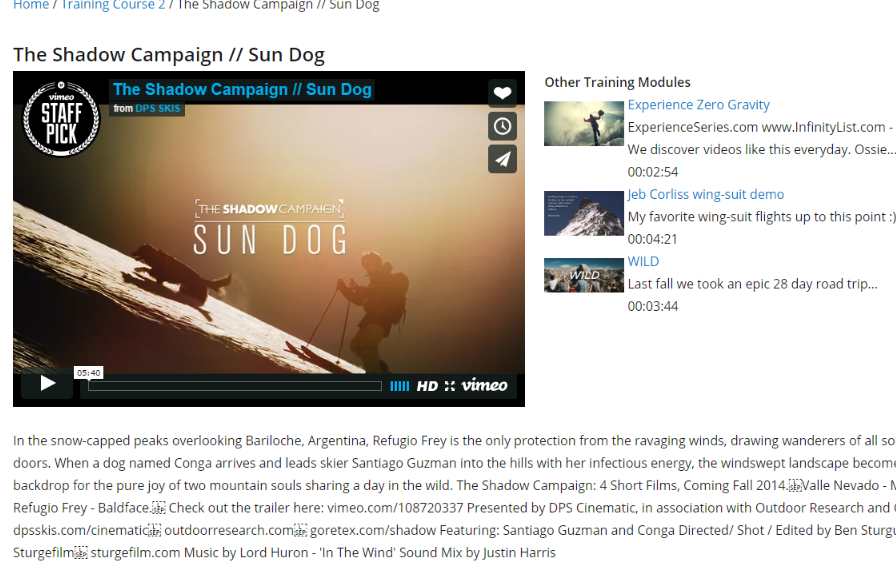
Video Player pages will look similar to the following: