The CRP Web Resources WordPress Site will utilize a standard header and footer for each project to deploy deliverables to this solution. While the look and feel of the header and footer will be standard, there are areas of the header that will be customized for each project. This document will provide the steps required to complete project-specific customizations to the approved header.
1. Login to the WordPress Dashboard as an administrator for the subsite you wish to edit.
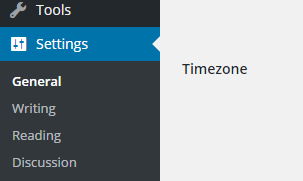
Go to Settings > General
3. Set the site title at the top of the settings page:

The site title will then appear in the header:
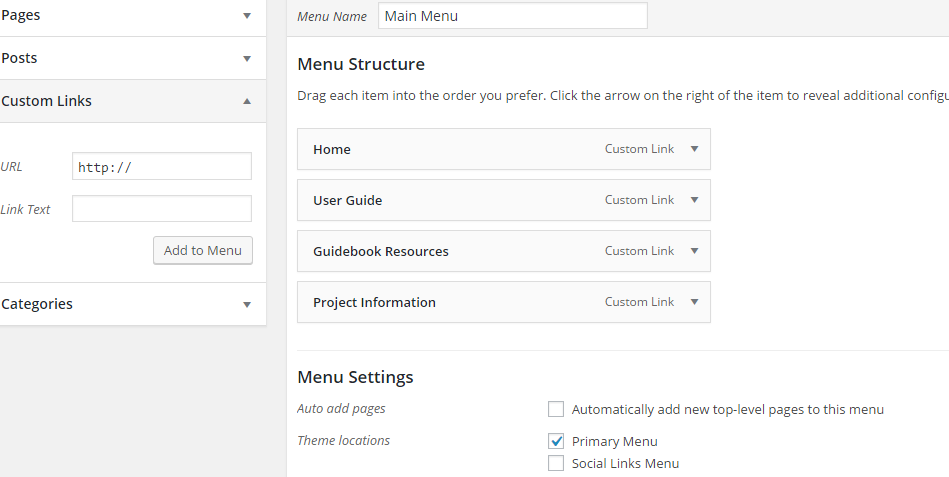
Follow these steps to build the navigation within the header for your project website.
1. Login to the WordPress Dashboard as an administrator for the subsite you wish to edit.
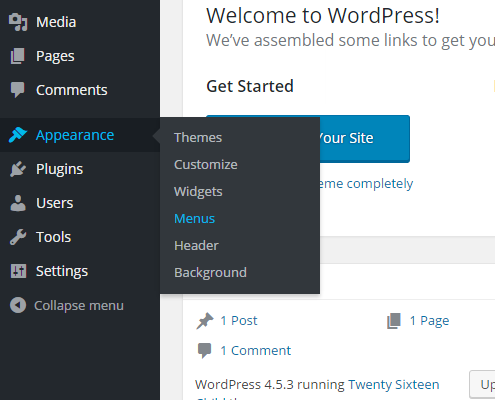
2. Select Appearance > Menus
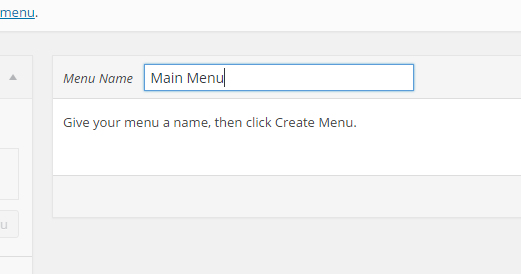
3. Enter a name for your menu:
4. Check the box to make this the “Primary Menu.” This will allow the header to use this navigation menu.
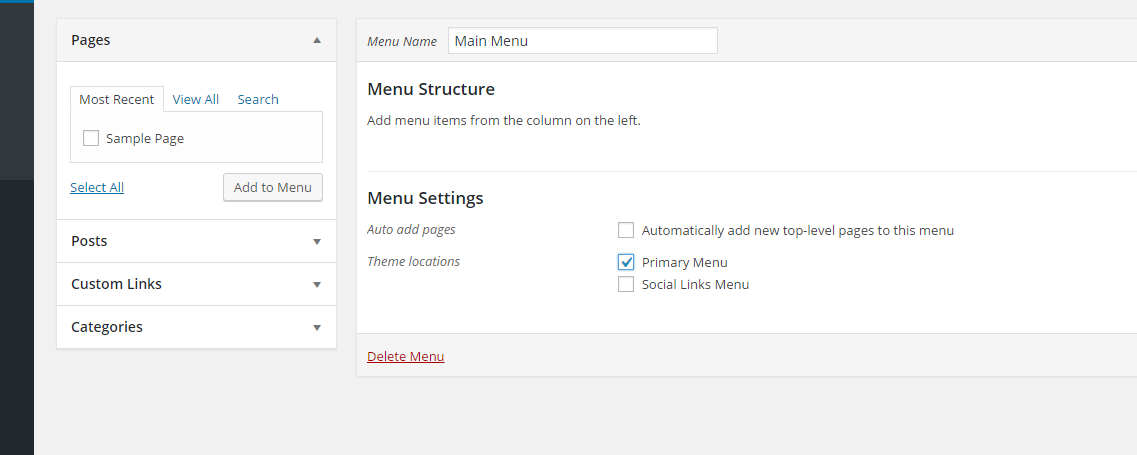
5. Add menu items to the menu using the options on the left. Your menu should look something like this when complete:
6. Click Save Menu. Your menu will now appear in the header.