CRP projects utilize several different template options for creating web pages in WordPress. This document provides instructions for utilizing templates with tabbed content areas.
Many of the web pages in the CRP projects utilize the use of a tabbed layout. The tabs template allows the user to easily create the content for each tab section with custom form inputs. The instructions below show how to use the tab template.
1. Login to the WordPress Dashboard as an administrator for the subsite you wish to edit.
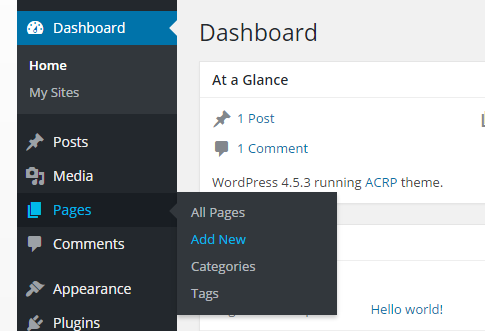
2. Select Pages > Add New

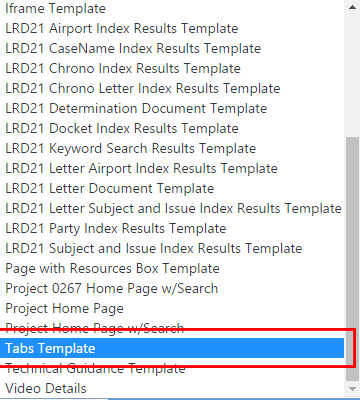
3. In the right hand column, select “Tabs Template” from the “Template” dropdown.

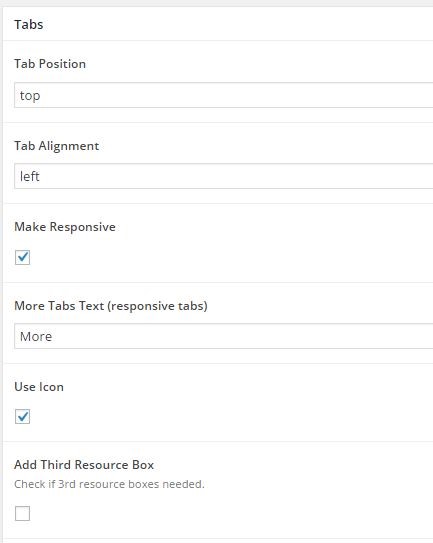
4. The page will have a prefilled section that allows some customized layout specifications. These values are prefilled with default settings should be used for most instances.

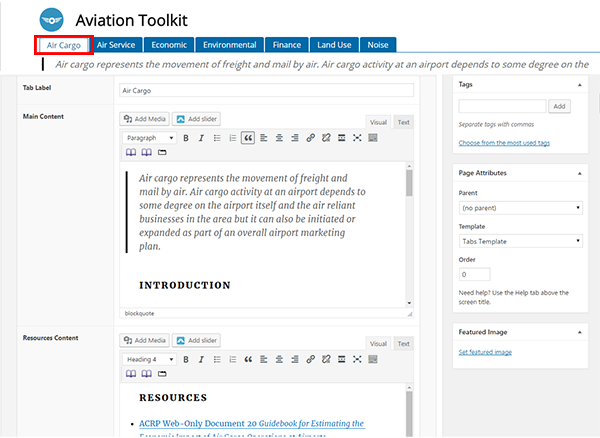
5. To create a tab, first click the “Add Tab” button.

6. The template has a repeatable interface with the appropriate input fields for creating each tab. Populate the fields as appropriate. “Tabs Label” will be the title of the tab. “Main Content” is the body content of the tab. “Resources Content” is optional but if used will create a resources box at the bottom of the “Main Content” section.

7. Repeat the above step for each tab that needs to be created by clicking the “Add Tab” button.

8. After creating or making updates or edits, click the update/publish button to save and publish your changes.
