CRP projects utilize several different template options for creating web pages in WordPress. This document provides instructions for utilizing templates with resource boxes inserted within the content.
Many of the web pages in the CRP projects utilize resource boxes for layout purposes. The “Page with Resource Boxes” Template allows the user to easily create the main content as well as the content for each resource box section with custom form inputs. The instructions below show how to use this template.
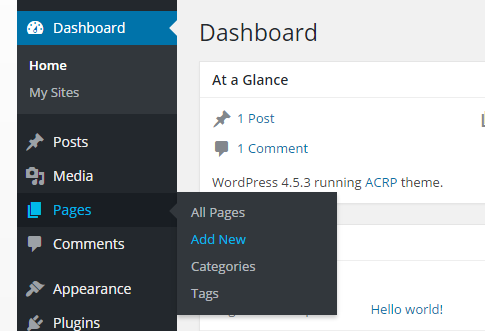
1. Login to the WordPress Dashboard as an administrator for the subsite you wish to edit.
2. Select Pages > Add New.
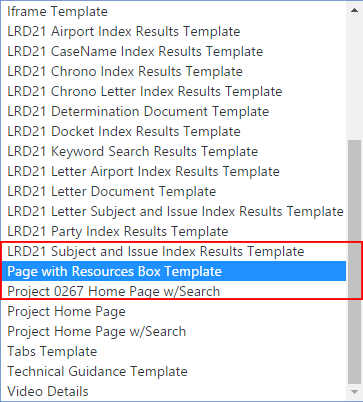
3. In the right hand column, select “Pages with Resources Box Template” from the “Template” dropdown.
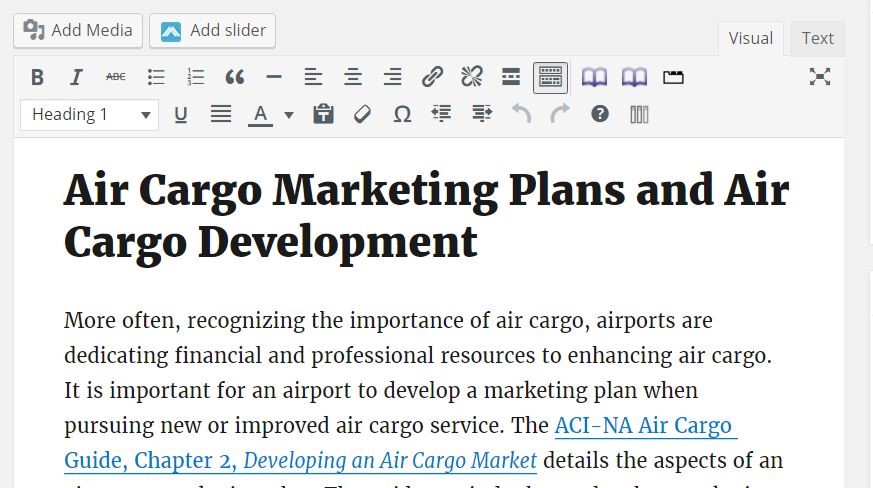
4. The main content for the page will be entered into the main What-you-see-is-what-you-get (WYSIWYG) editor.
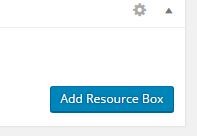
5. Under the main editor there is an “Add Resource Box” button for adding resource box content. Click this button to add and edit a resource box.
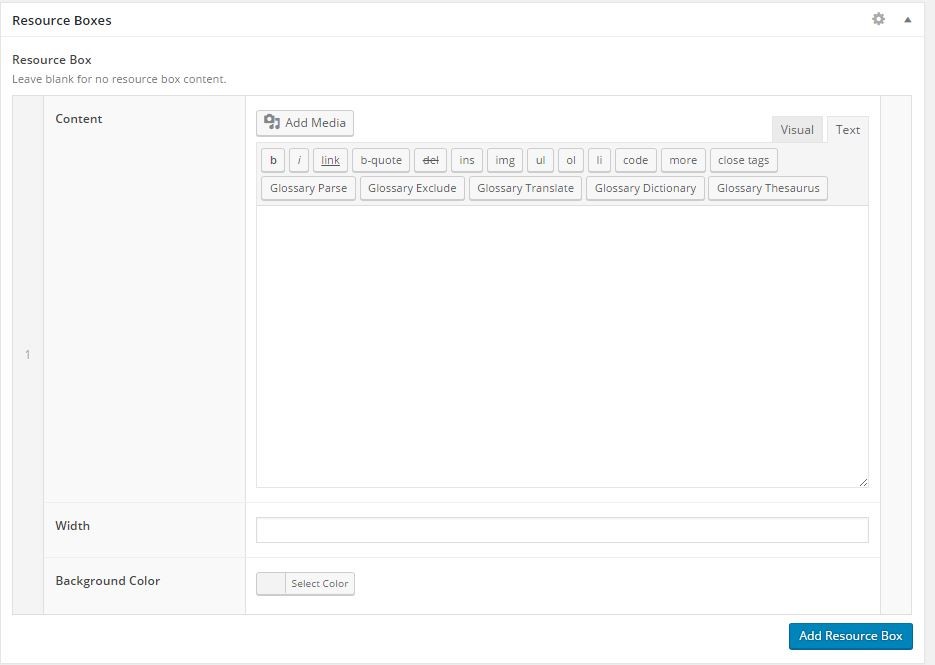
6. Enter all content for the resource box into the content area. You may also specify an optional width and background color. If these are left blank, the defaults will be used.
7. Repeat the above step for each resource box that needs to be created by clicking the “Add Resource Box” button.

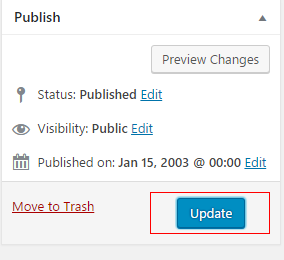
8. After creating or making updates or edits, click the update/publish button to save and publish your changes.